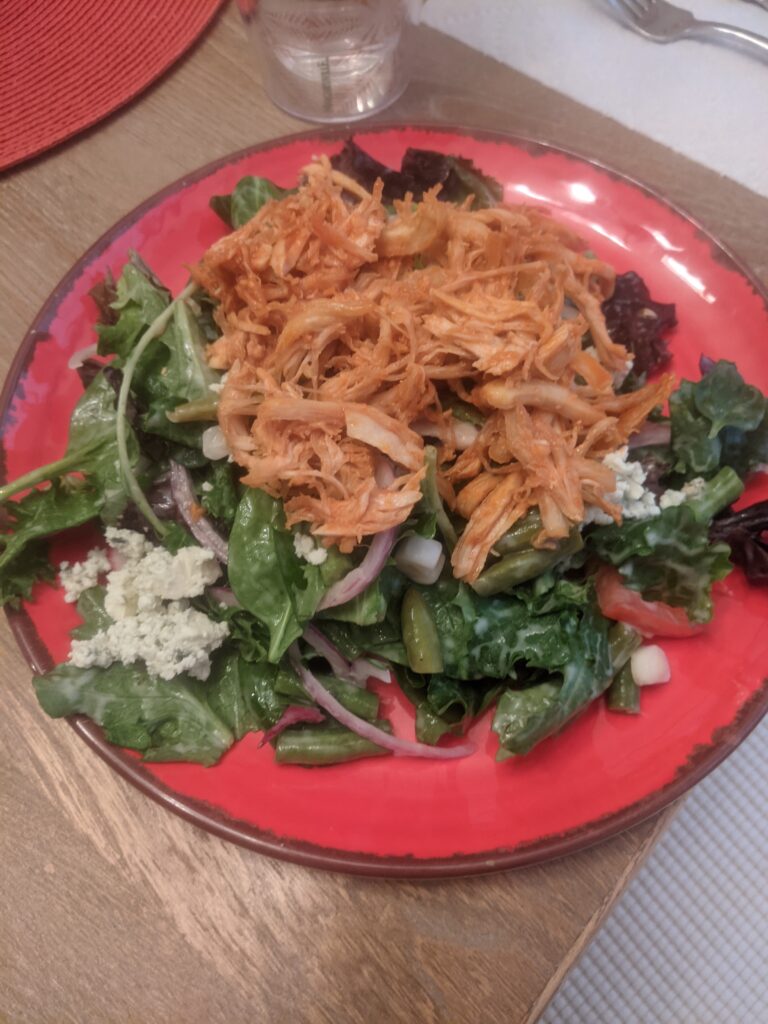
I’ve never been a big fan of pickles (unless they were deep fried ;0), but pickled green beans and red onions have my taste buds singing! I was introduced to pickled green beans by a dear friend of mine who produced the most epic charcuterie board one evening for a get-together. I became obsessed and quickly looked up recipes. After a little trial and error I found an easy, healthy, and quick way to create pickled green beans. Of course, I couldn’t stop there and expanded my recipe to also include red onions. Now, I always have a jar or two in the fridge of both pickled green beans, red onions, cucumbers and asparagus. The recipe works for almost any vegetable. Once pickled, they make amazing toppings on salads, healthy additions to charcuterie boards, or just a quick nibble when you’re between meals and hunger is kicking in.
Ingredients:
- A few large handfuls of green beans (ends trimmed or snapped off)
- 1 medium to large red onion sliced thin and layers separated
- 3 cups of water
- 2 cups of apple cider vinegar
- 3 TBSP salt
- 2 TBSP Swerve, Stevia, Truvia, etc. (zero calorie sugar substitute)
- garlic cloves
- peppercorns
- dried red pepper flakes
- dried dill (fresh is fine too but I find the dried gives better flavor)
Here’s how I set everything up:
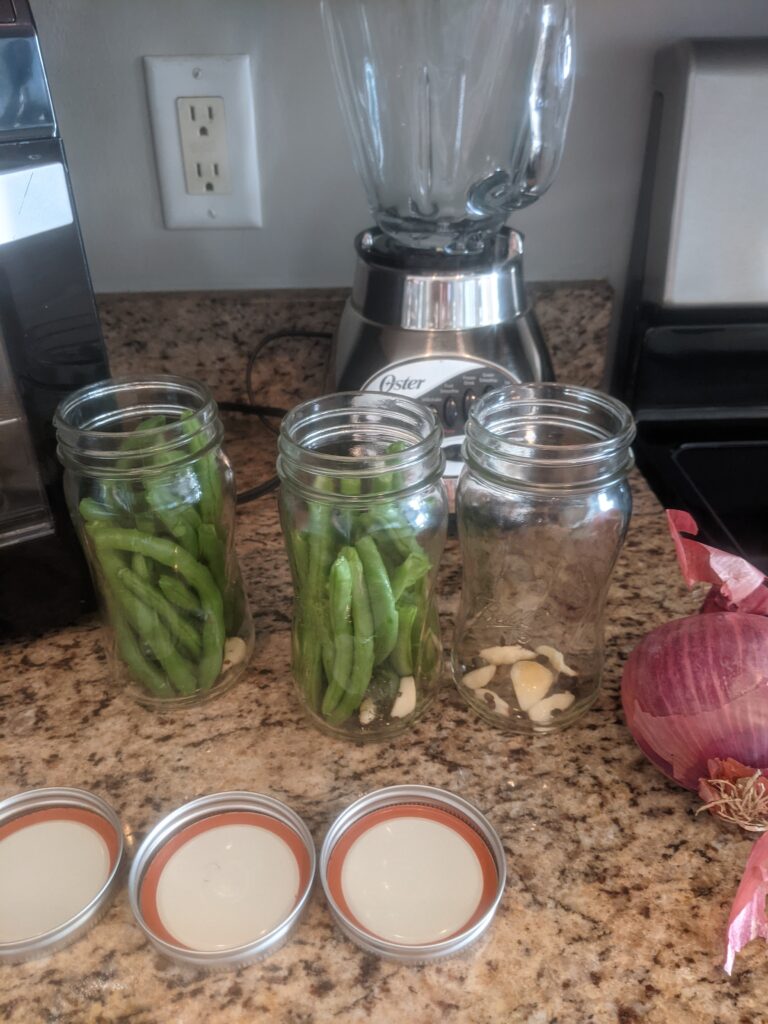
- Line up three mason jars. Place a few garlic cloves and peppercorns in all three jars. In two of them add red pepper flakes (1 tsp) and dried dill (1 tsp). I just eyeball the measurements, it doesn’t matter if its not exact. The two that have all the goodies get the raw, trimmed green beans placed in them. The jar with just the peppercorns and garlic will be for the red onion. You can also add an additional tsp of sugar substitute to the red onion jar if you like them a little sweeter.
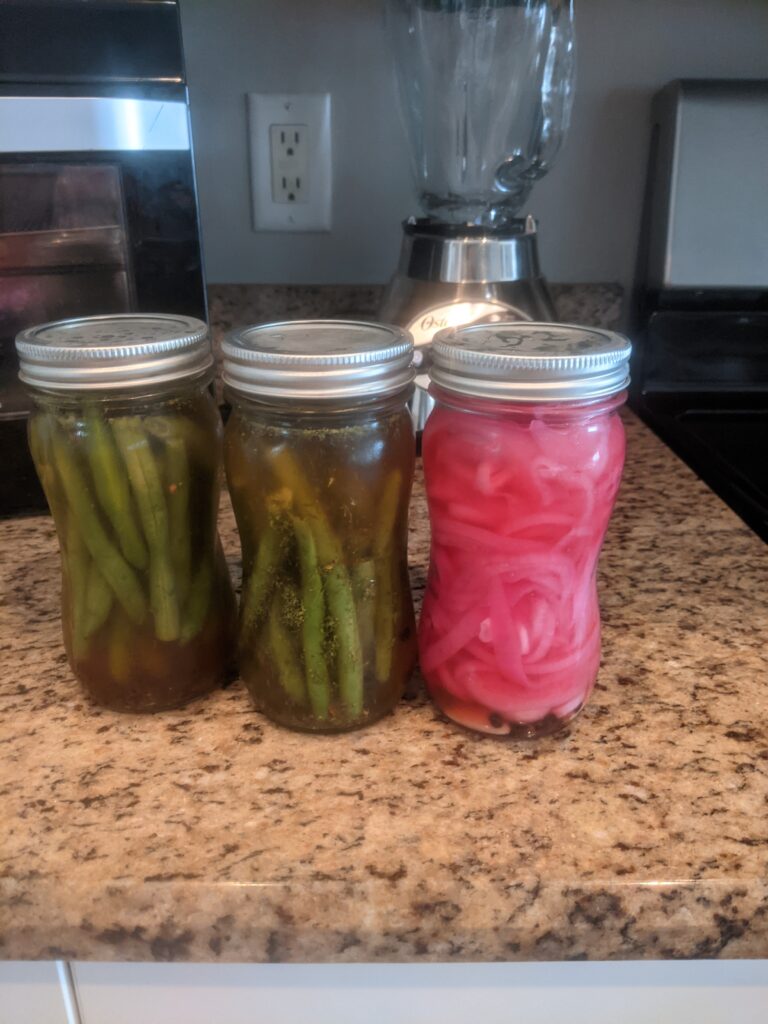
- Over medium high heat, bring the water, vinegar, salt and sugar substitute to a boil. Once this mixture boils, remove from heat and place the sliced and separated red onion in the liquid for about one minute. Use tongs to remove and place directly into the remaining third jar. Let the liquid cool for a few minutes then pour over the vegetables in all three jars. This recipe should yield enough to do 3-4 jars total. Make sure the green beans and red onion are completely covered. If you added more sugar to the onions, shake this jar up so the sugar dissolves.
The pickled veggies will taste great by the next day. If you can wait 2-3 days they’ll be even better. So far they’ve not made it in my fridge longer than 1 week because we eat them so fast, but given the other recipes I had explored I believe they should hold up for a couple of weeks.
Cooking is my passion and healthy cooking is my mission, 70-80% of the week anyway! Check out my plethora of ideas to help inspire your healthy eats.
*The exact portions will vary per person. Contact us for more details on your portions and macronutrient breakdown per meal/per day! There is no need to guess at how you should eat – let us help you eat right for your body type and goals!

